A lot of people believe the Facebook era is ending.
But, is it?
According to the latest Vaizle, 2.11 billion people use Facebook daily.
You realize this is a huge number, right? So despite what others think, growing your audience on Facebook is still a definite great idea.
So, keep up with the consistency of your Facebook post scheduling, it will definitely help. And if you need help with staying consistent then scheduling your Facebook posts in advance is probably the solution.
Let's discover more about that.
Is it possible to schedule Facebook posts in advance?
Yes, you can schedule Facebook posts in advance, and there are two options available: one free and one potentially paid.
Free Option:
Meta Business Suite, Facebook's native scheduler, allows you to schedule posts for free. However, it comes with several limitations.
Paid Options:
Social media management tools, most of which require payment, offer many advantages over Meta Business Suite. They provide additional features and flexibility for managing your posts.
Does scheduling Facebook posts negatively impact engagement?
No, scheduling your Facebook posts—whether on your personal profile or your business page—through third-party tools does not negatively impact engagement.
The engagement on your Facebook posts will remain the same, whether they’re posted directly on the platform, scheduled via Meta Business Suite, or scheduled using a social media management tool.
Advantages of scheduling Facebook posts via Nuelink
- Dedicated Collection: Create a collection specifically for your Facebook content to keep all scheduled posts organized in one place. Set time slots and other preferences for the collection, and every post added will automatically follow these settings.
- No Scheduling Timeframe Limitation: Meta Business Suite only allows scheduling posts up to 29 days in advance. With Nuelink, there are no such restrictions—you can schedule posts as far into the future as you need.
- Bulk Schedule Posts: Bulk uploads up to 100 posts at once using one simple spreadsheet. Using either a simple spreadsheet or an advanced one.
- Follow-up Comments: With Nuelink, you can schedule a comment to accompany each post you share. Use it to provide additional information, include hashtags, or share relevant links. You can also set a time delay between the post and the comment for a more authentic flow.
- AI-Assistant: Nuelink offers an advanced AI copywriter at your disposal in the text editor to help you write, rewrite, shorten, or expand your Facebook captions. It can even generate a whole new caption for you simply by using a prompt.
How to Schedule Facebook Posts
Step 1: Open a Nuelink account
After signing up for a 14-day free trial, you can start scheduling your posts on Facebook and 11 other social media platforms with Nuelink immediately.
Step 2: Connect your Facebook account to Nuelink.
Once you're in, you must link your Facebook page to Nuelink. Simply follow this guide to get started.
Or you can watch this video 👇
💡 Please note that due to API limits from Meta ends, Nuelink can only schedule posts to Facebook pages, not personal profiles.
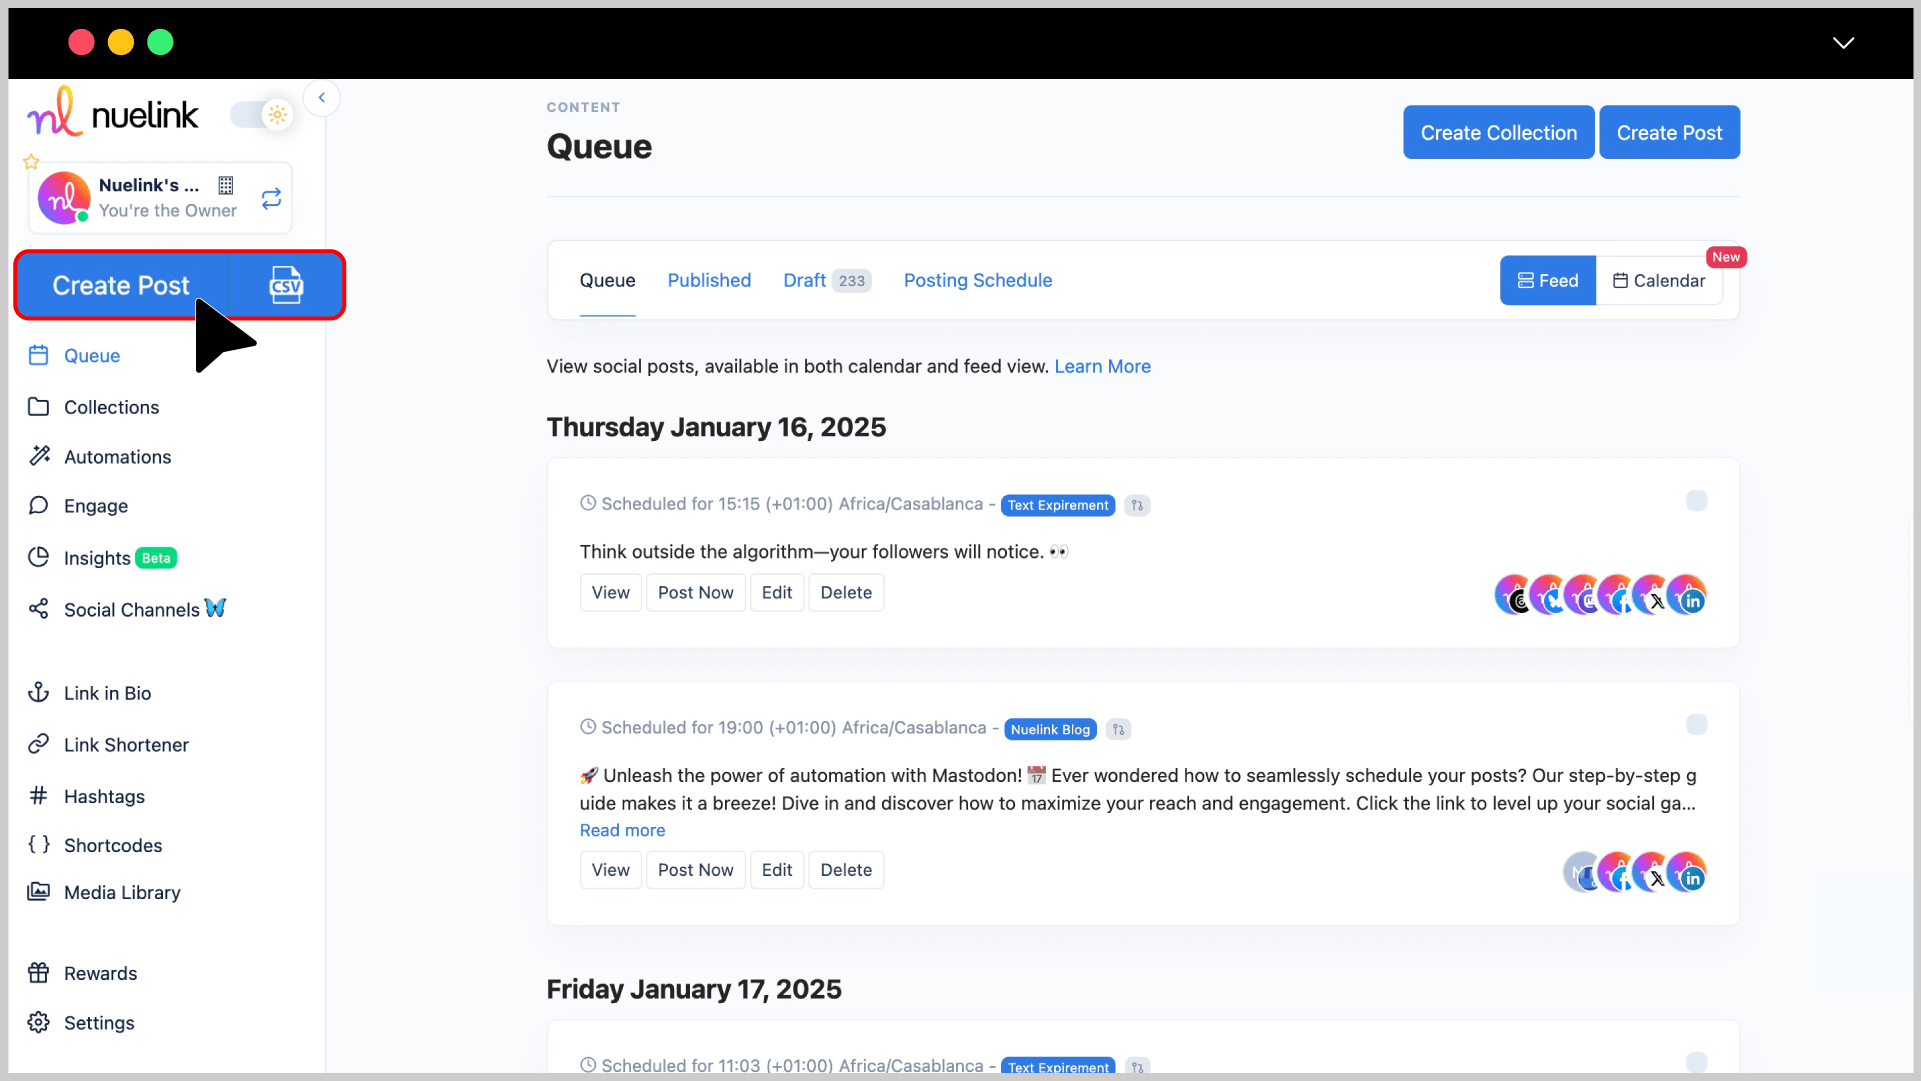
Step 3: Click on ‘Create Post’
On the left sidebar, click on the 'Create Post' button to start creating your post.
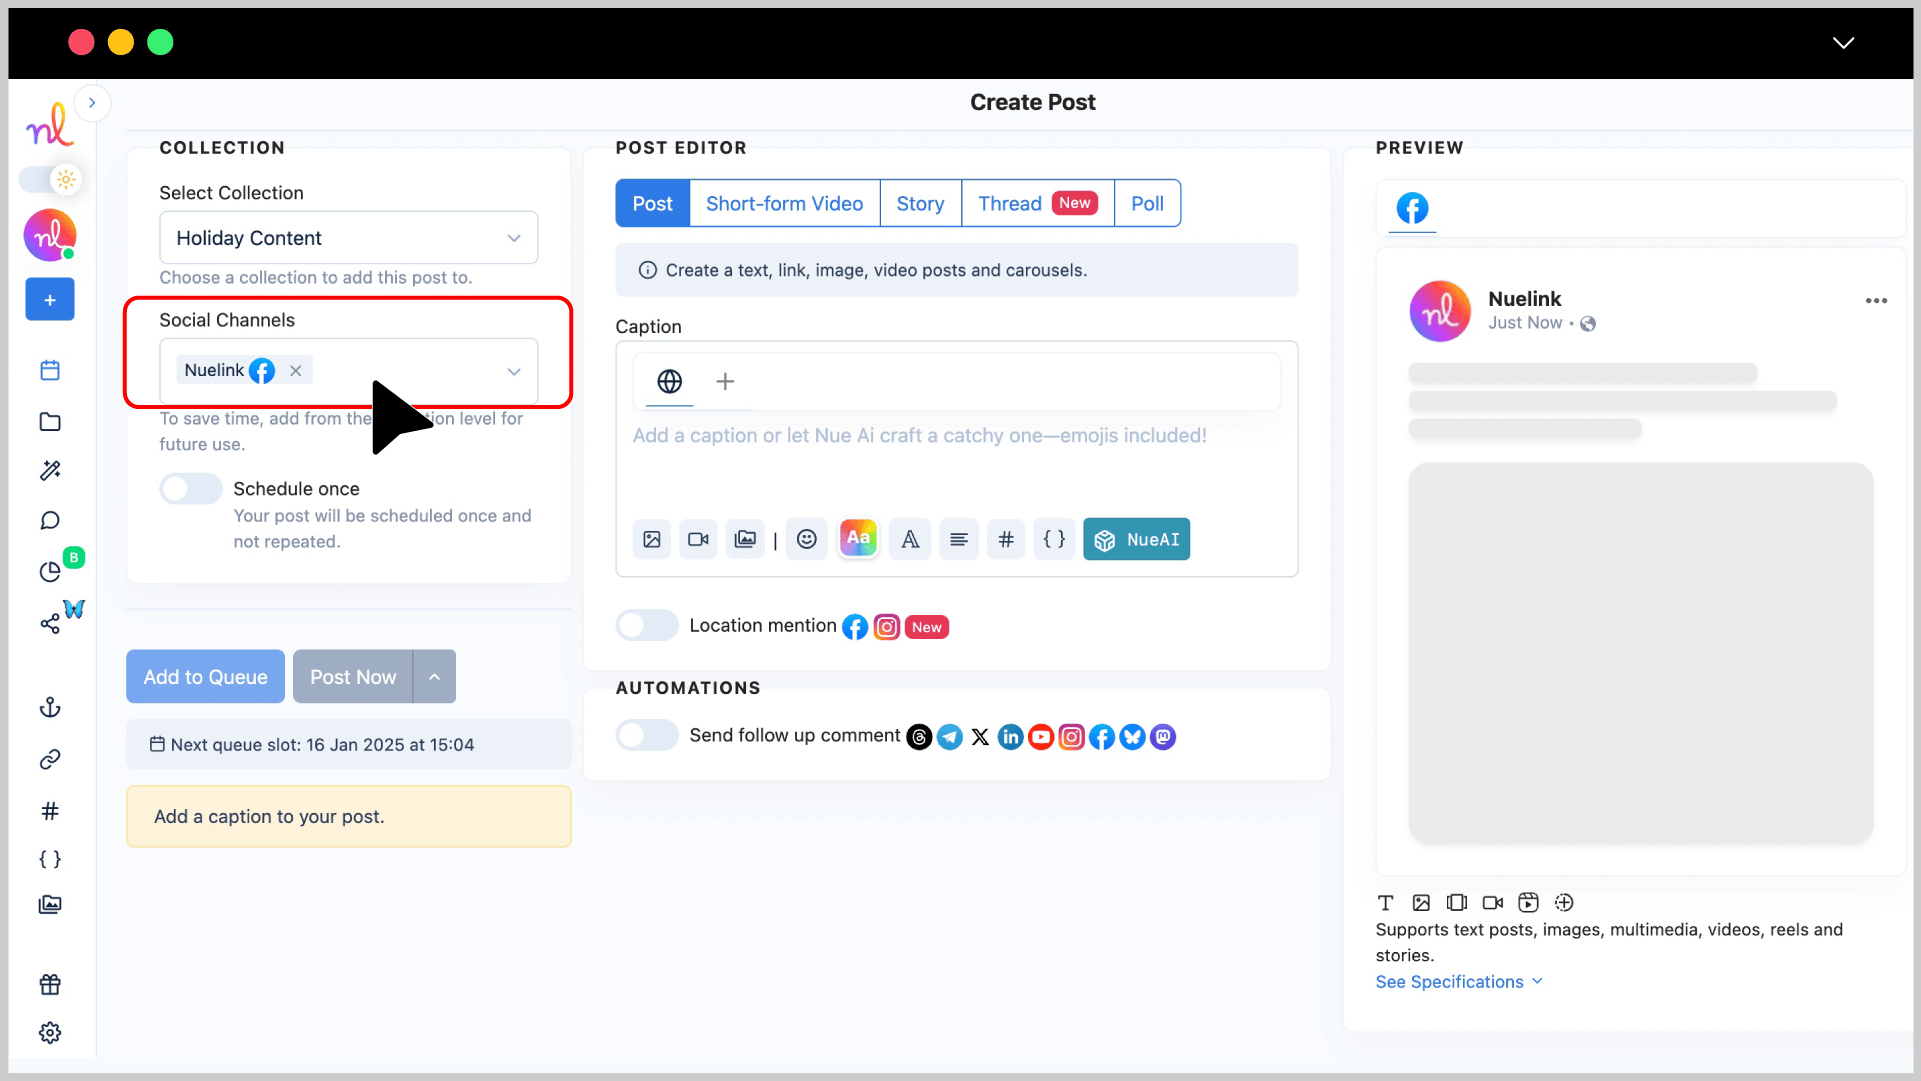
Step 4: Choose a Collection and Social Channel
- Under the Collection dropdown, select the appropriate collection for your post (e.g., “Facebook Posts Monday”). Read more about Nuelink's collections.
- In the Social Channels section, select your Facebook Page.
Step 5: Write Your Caption
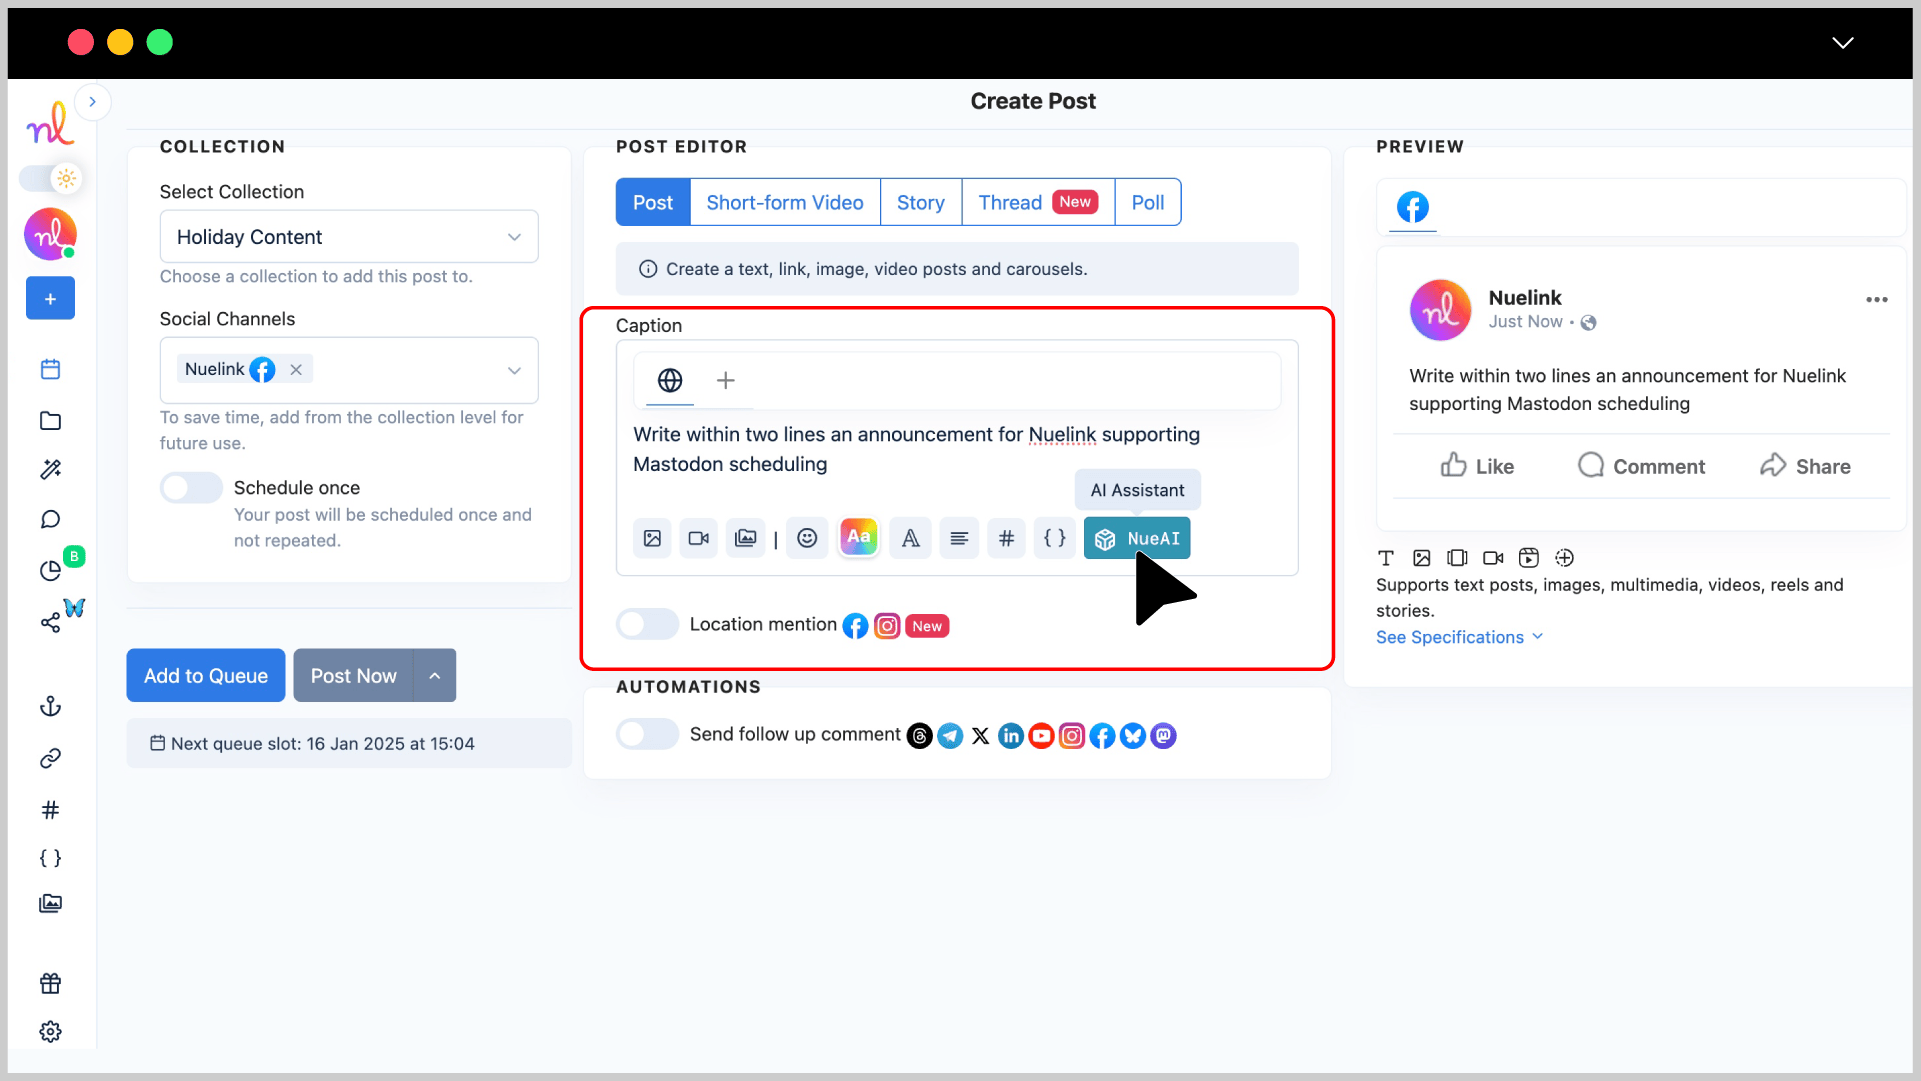
- In the Post Editor, write your caption in the text box. Add any emojis or tags to make it engaging.
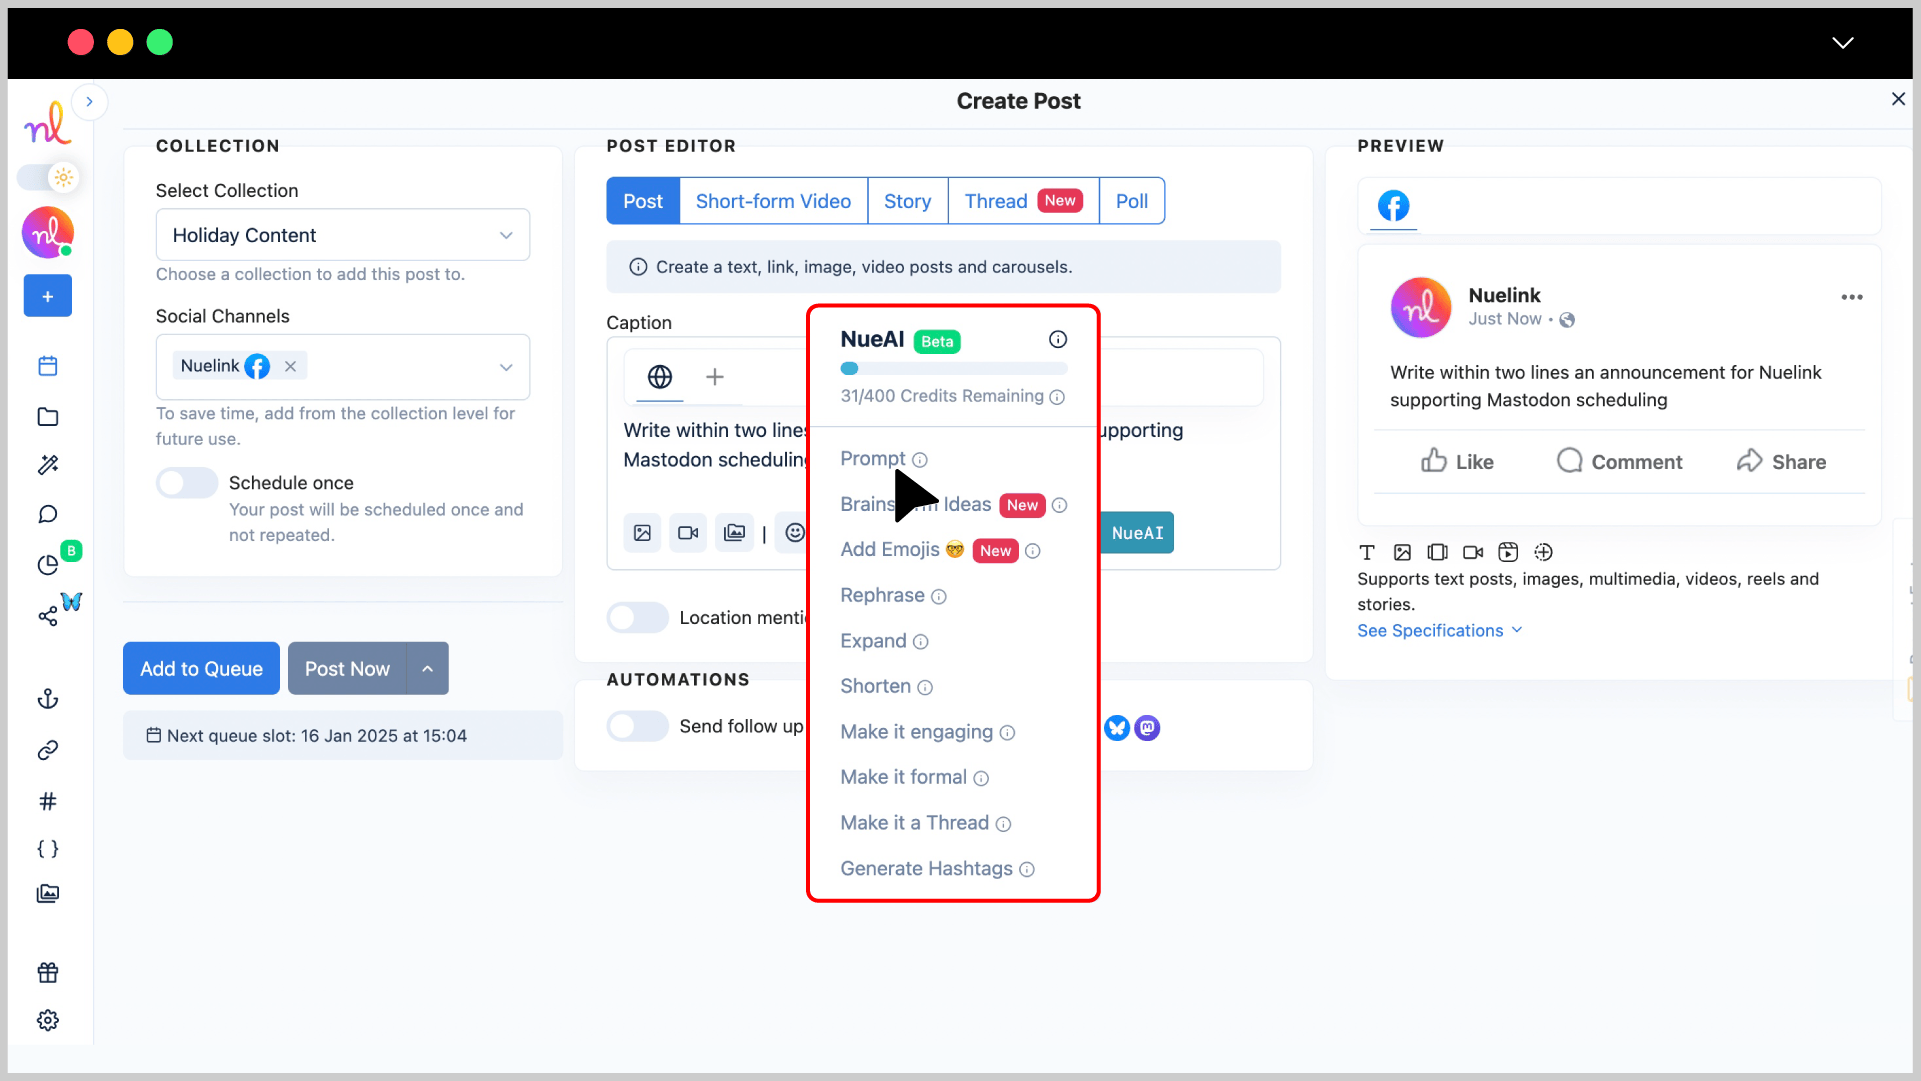
- You can also use NueAI to write the caption for you by simply providing him with a prompt. To do that you just need to:
- Write your prompt in the text box.
- Click on the 'NueAI' button
- Click on 'Prompt'
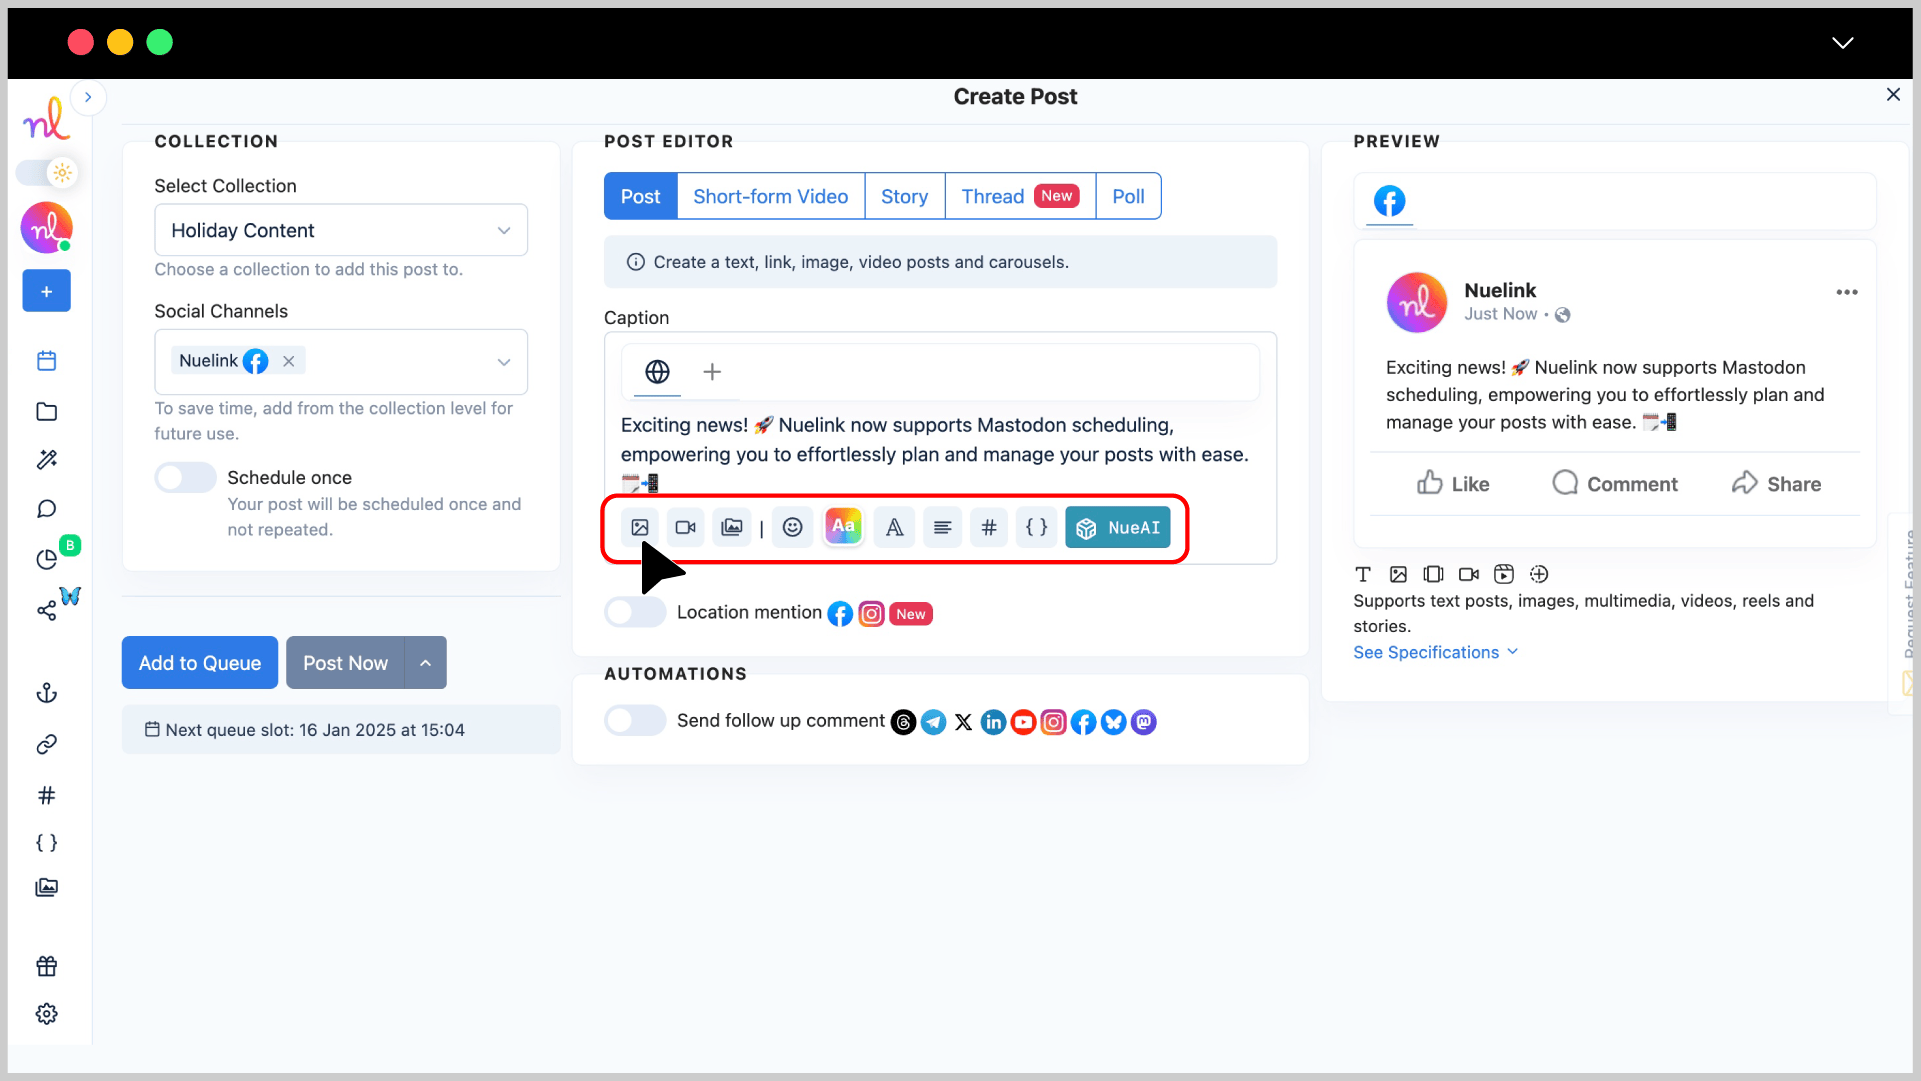
Step 6: Add Media or Attachments
Use the media options below the text editor to add images, videos, or other assets to your post.
Step 7: [OPTIONAL] Tag Location
To tag a location in your post, simply enable the "Location Mention" option and search for the desired place by its name.
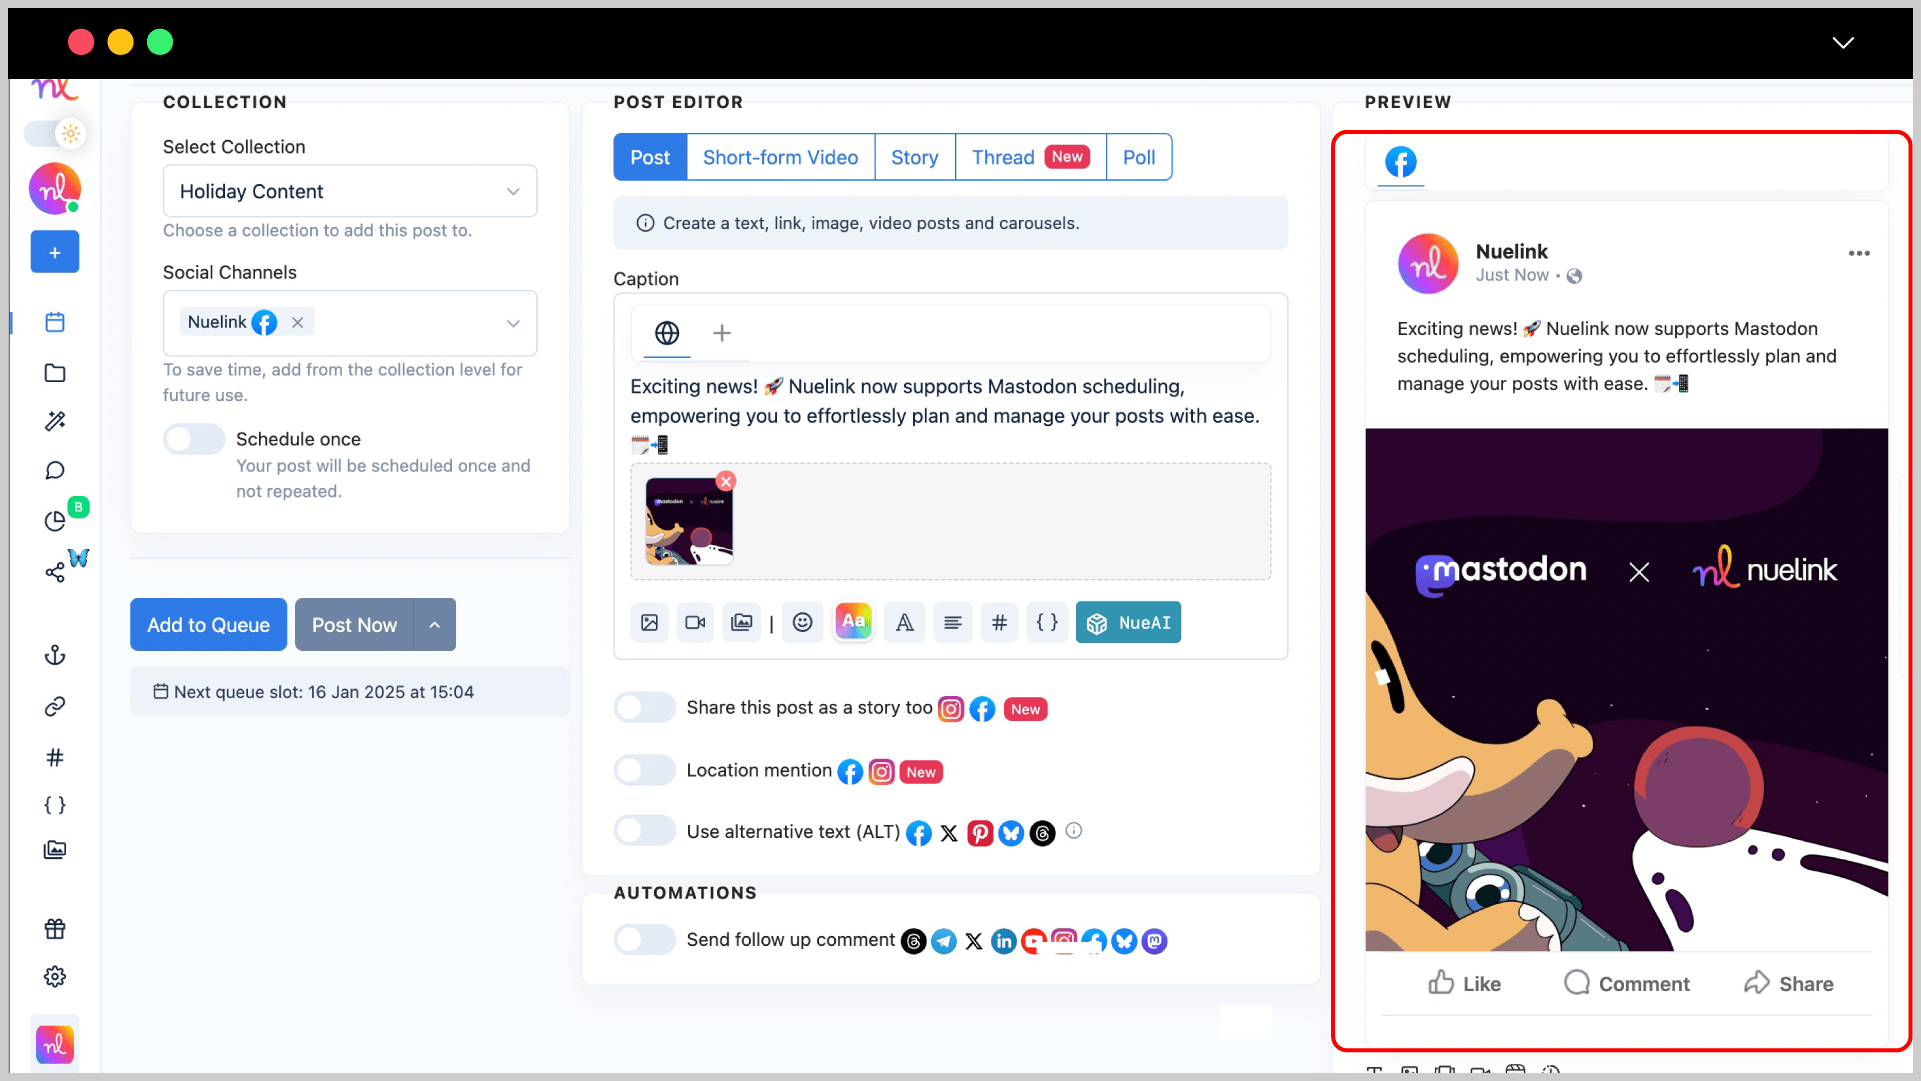
Step 8: Preview Your Post
Check the Preview section on the right to see what your Facebook post will look like.
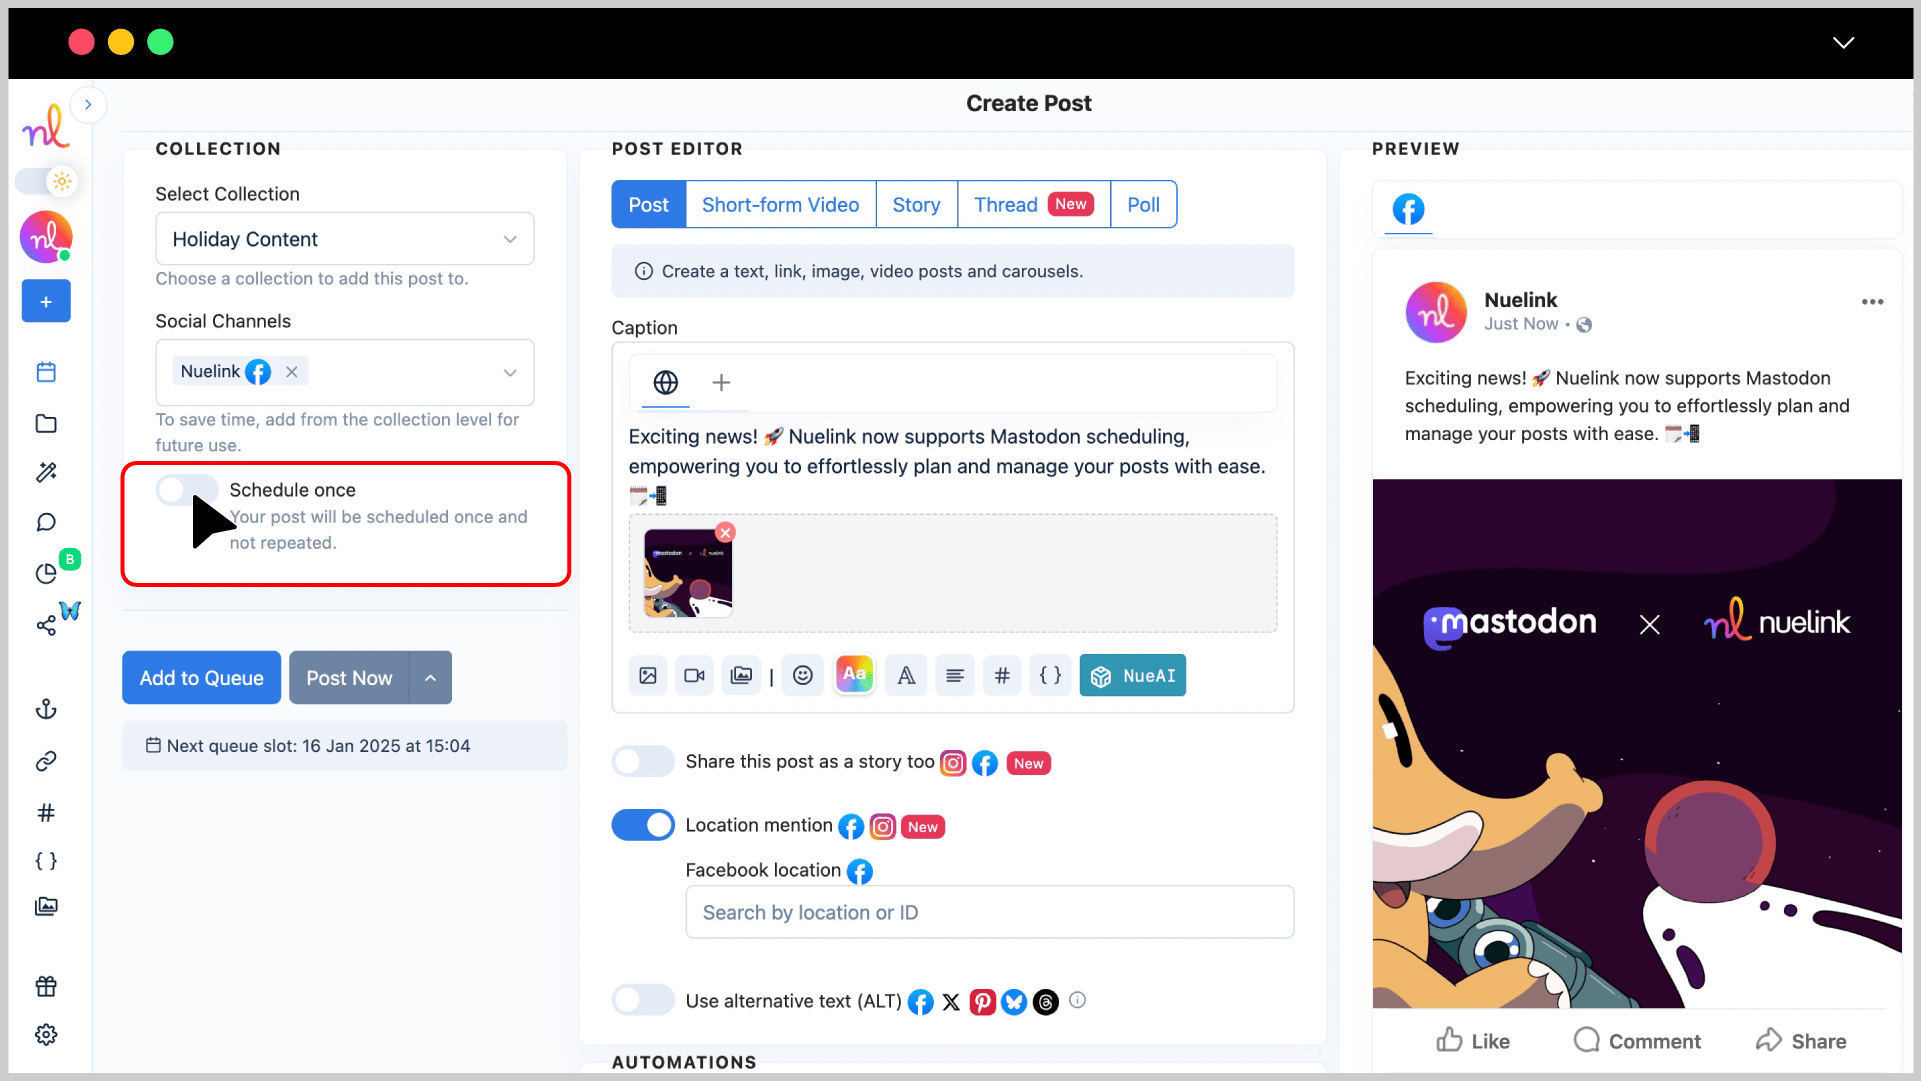
Step 9: Set Scheduling Options
- Turn on the 'Schedule Once' so you can schedule your post for a specific time.
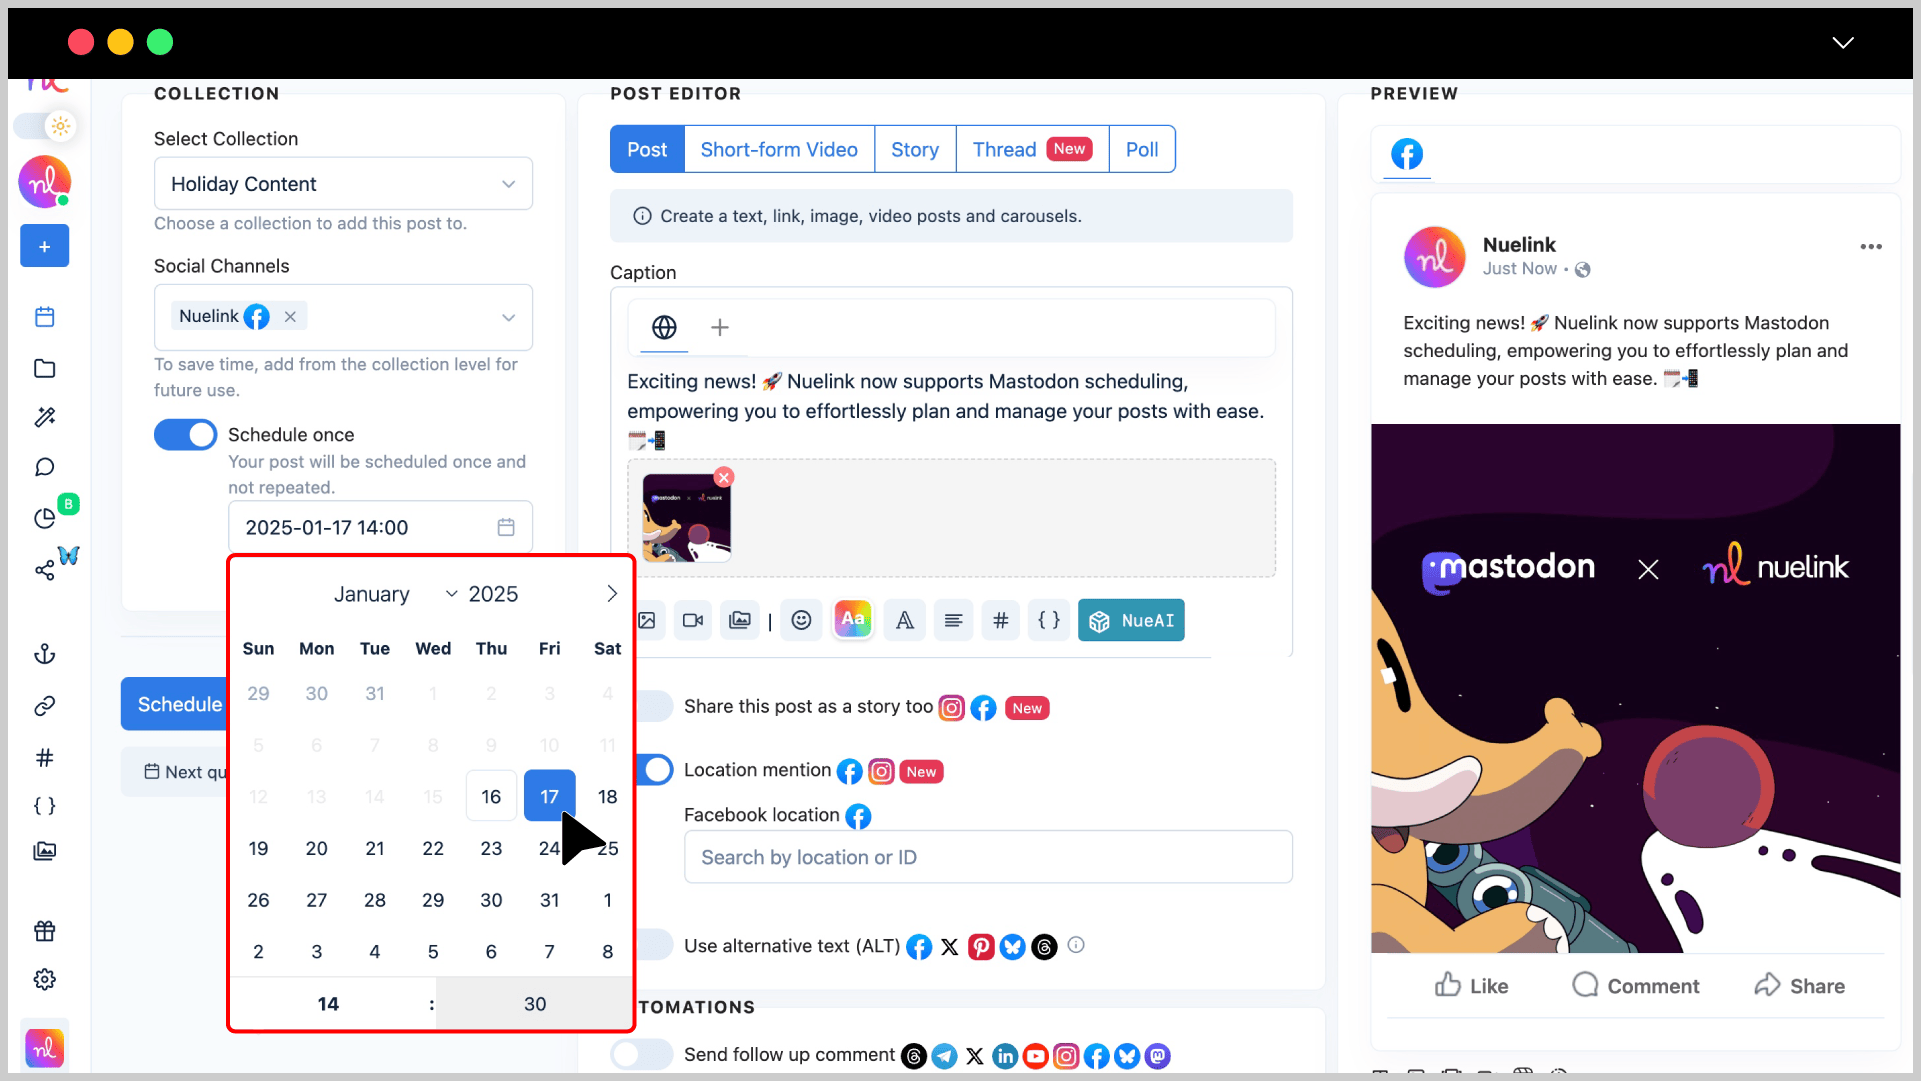
- Select the desired date and time using the calendar and time picker.
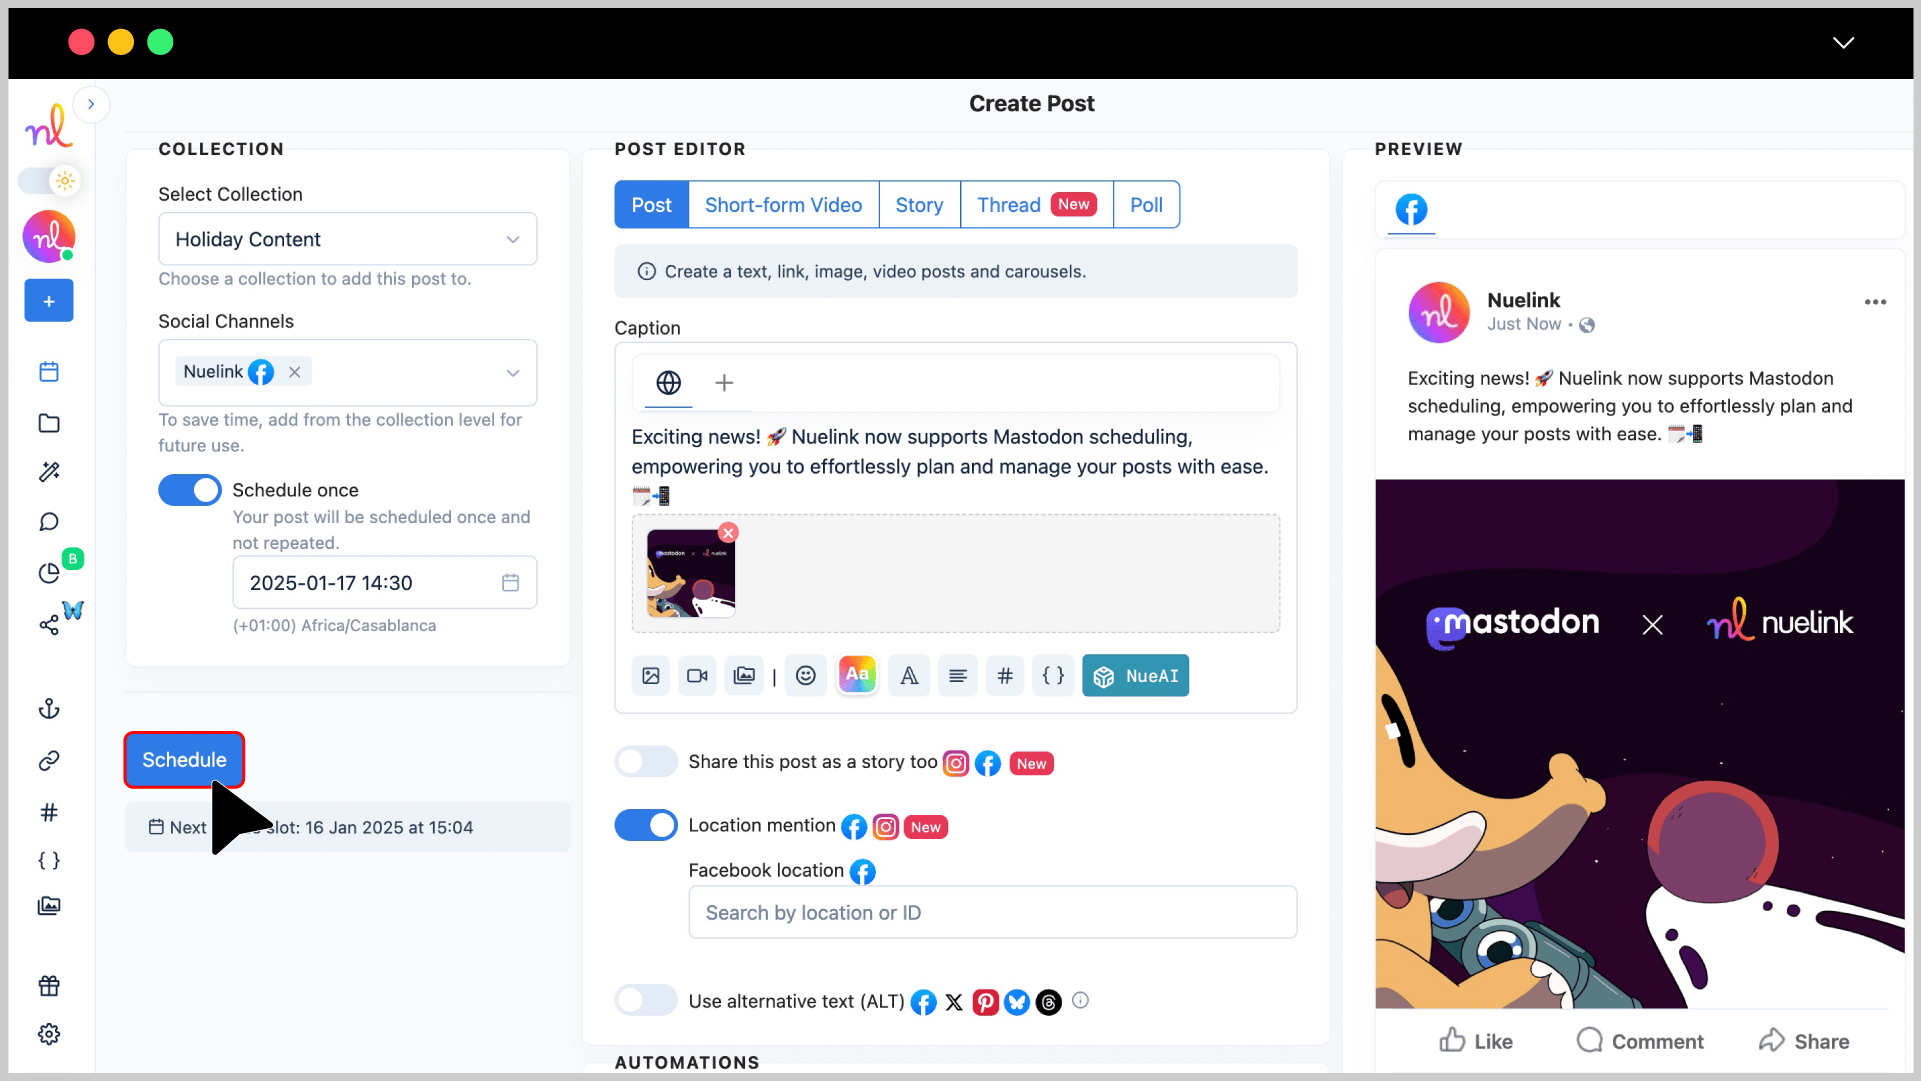
Step 10: Click ‘Schedule’
Once everything is ready, click the 'Schedule' button to schedule your post
Congratulations 🎉
Your Facebook post is now set to be posted at the scheduled time!
Frequently asked questions about scheduling posts on Facebook
- How does Nuelink's Tag Location feature work?
It’s simple! While scheduling your post, activate the Tag Location feature and search for the desired location by its name.
- Can I schedule Facebook multimedia posts via Nuelink?
Yes, you can schedule multimedia posts on Facebook with up to 10 images using Nuelink.
- Can I use images in follow-up comments?
Yes, it’s possible to include images in follow-up comments.

